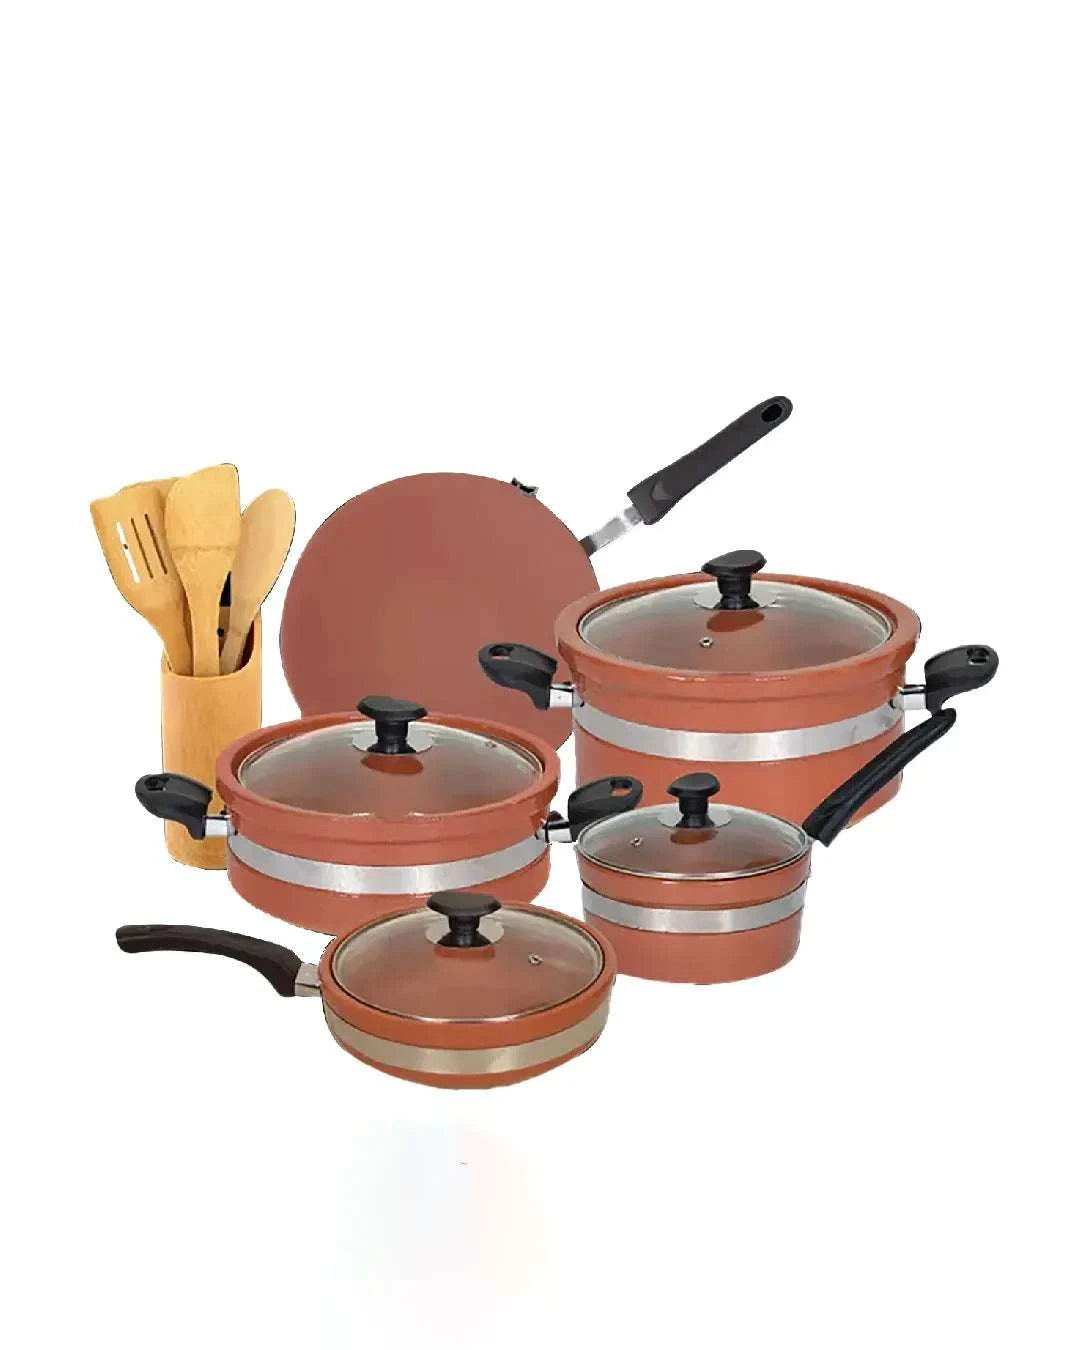
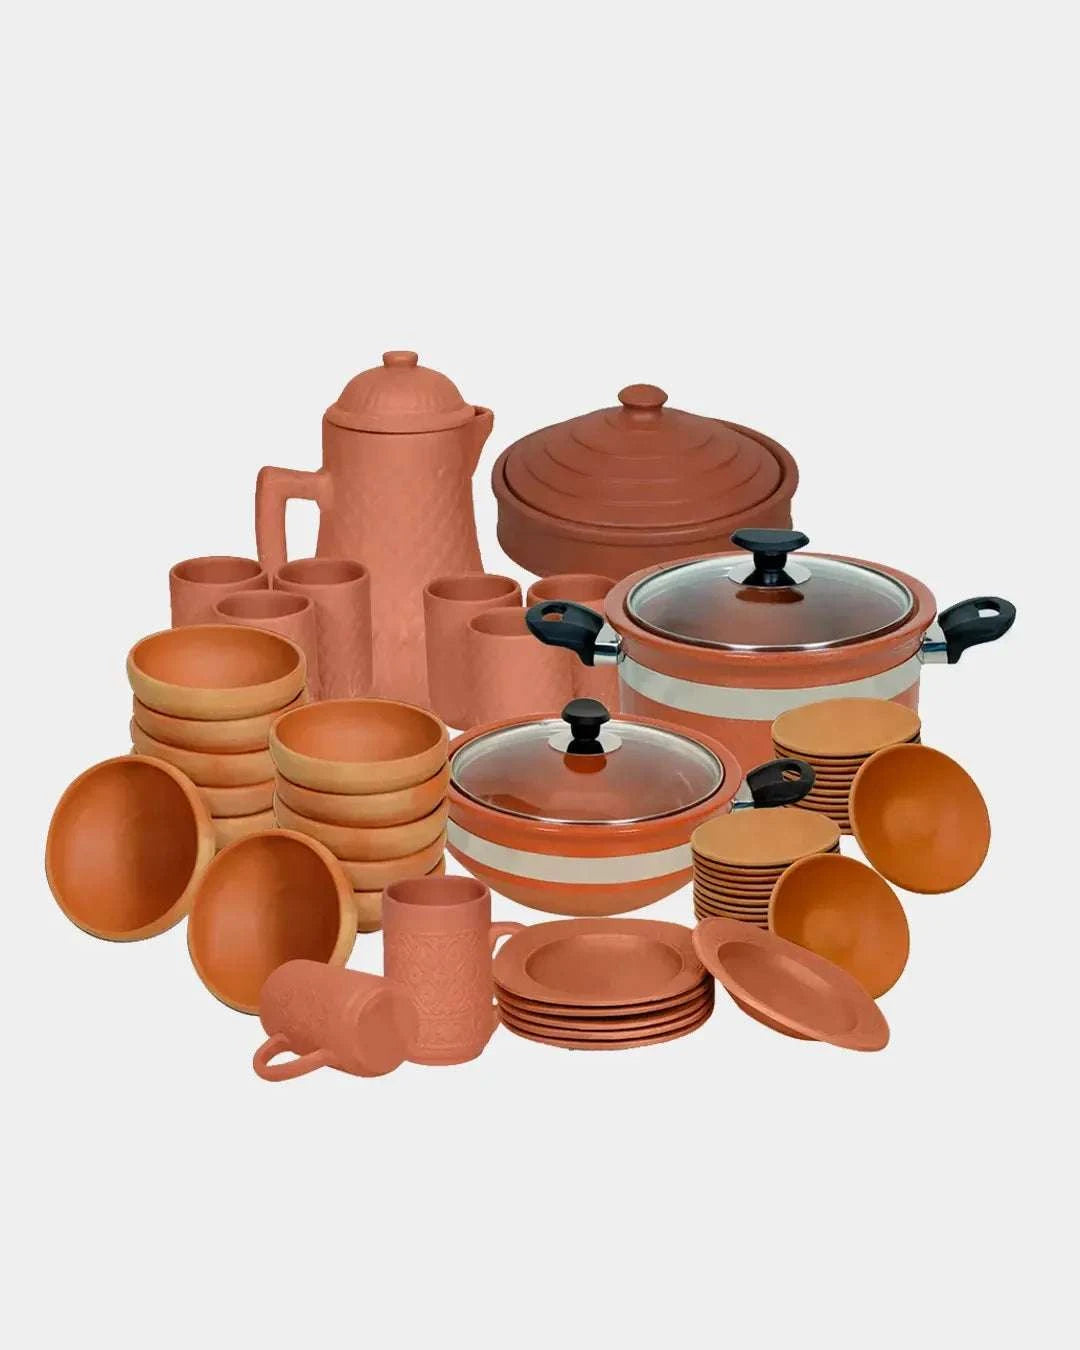
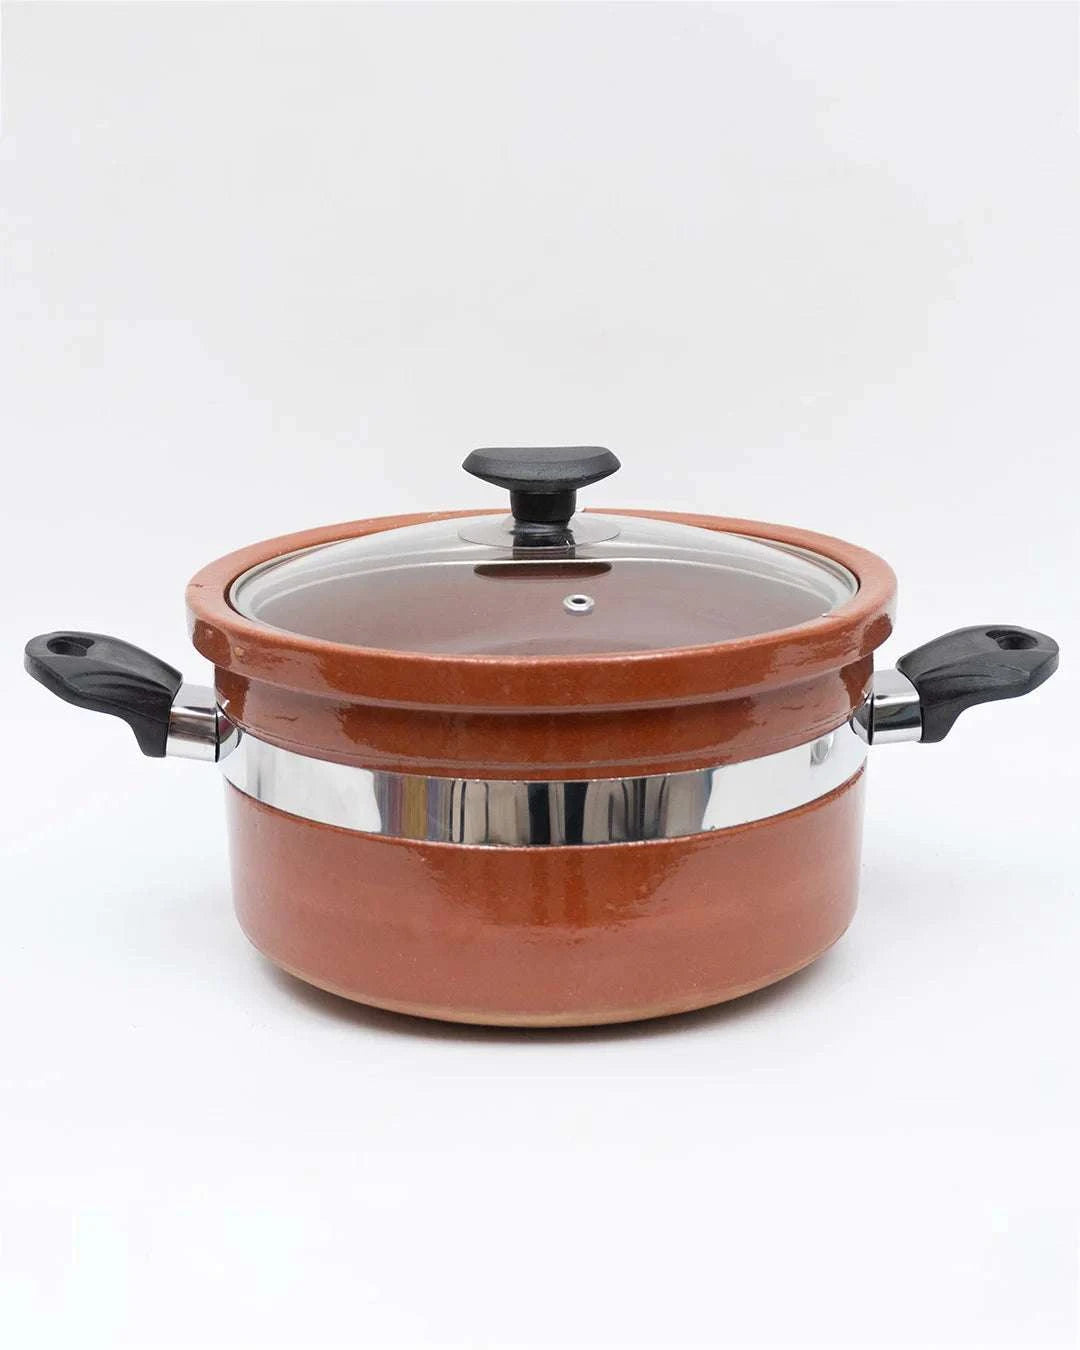
There is something beautifully simple about a vessel made from earth. A lump of clay, shaped by hand and transformed by fire, can become a handi for cooking, a bowl for serving, or a pot that remains useful for years. In Pakistan, this craft has been part of everyday life for generations, connecting kitchens and dining tables with the skill of local artisans.
Making mitti ke bartan is a process that requires considerably more than shaping wet clay. From selecting the right soil to preparing, forming, drying, and firing it, every stage influences the quality of the finished piece. Understanding this process also makes it easier to appreciate handmade products when searching for mitti ke bartan for sale in Pakistan.
From Earth to Everyday Essential: Where Pottery Begins

The journey begins with clay. Potters need suitable clay with the right consistency and composition for shaping and firing. Ordinary garden soil cannot simply be turned into a functional cooking pot. The clay needs to have properties that allow it to hold its shape while wet and become durable after firing.
The selected clay is cleaned to remove stones, roots, grit, and other unwanted material. Depending on the traditional method, it may be dried, crushed, sieved, or mixed with water to create an even working material. This preparation stage might not be visible in the finished handi, but it is fundamental to good pottery.
Step 1: Preparing the Clay for Shaping
Once the clay has been cleaned, water is gradually added. The objective is to achieve a smooth and workable consistency. Clay that is too dry can crumble during shaping, while clay containing too much water may become difficult to control. Experienced artisans develop a feel for the material. They can often tell from its texture whether it is ready to work. The clay is then gathered into workable portions. At this point, it is soft enough to be shaped but firm enough to maintain its structure.
Step 2: Kneading and Removing Air
One of the most important stages in learning how to make mitti ke bartan is kneading. The artisan repeatedly presses, folds, and works the clay to distribute moisture evenly and reduce trapped air pockets. Well-prepared clay is easier to shape and less likely to develop serious problems during firing. The artisan continues working the clay until it has a consistent texture and feels suitable for the intended vessel. This is a good example of why handmade pottery depends so heavily on experience. The process may look straightforward, but knowing when the clay is ready takes practice.
Step 3: Giving the Clay Its Shape
Now the actual form of the vessel begins to emerge. Depending on the pottery tradition and the product being made, artisans may shape clay by hand, use a pottery wheel, or combine several techniques. With wheel-made pottery, a portion of clay is placed at the center of the rotating wheel. The artisan stabilizes it while gradually opening the center and pulling the clay upwards to form the walls. The pressure has to be carefully controlled. If one area becomes too thin, the vessel can lose its shape. If the walls are too thick, the final piece may become unnecessarily heavy and may not dry evenly.
Step 4: Refining the Details
Once the basic shape has been formed, the pot is refined. The rim is smoothed, the base is adjusted, and uneven surfaces are carefully corrected. Depending on the design, handles, lids, decorative patterns, or other details may be added at this stage. A cooking handi, for example, needs to have a practical shape that supports its intended use. A serving bowl may have a different profile, while decorative pottery can allow much greater freedom in form. The artisan therefore considers both appearance and function. This is also where handmade pieces begin to develop their individual character. Slight variations in shape and texture can remain visible rather than being eliminated completely.
Step 5: Letting the Pot Dry Naturally
A freshly shaped clay pot is still fragile. Before it can be fired, it needs to dry gradually. Water inside the clay slowly evaporates, which causes the vessel to become firmer and more stable. This stage requires patience. If pottery dries too quickly, uneven shrinkage can lead to cracks. Direct heat or unsuitable environmental conditions can therefore damage a piece before it ever reaches the kiln. Artisans monitor the drying process and allow the pottery enough time to reach the appropriate condition for firing. For traditional pottery, patience is not an optional part of the process. It is one of the things that protects the final product.
Step 6: Preparing the Pot for the Fire
Once the pottery has dried sufficiently, it is inspected again. The artisan may smooth minor imperfections and prepare the pieces for firing. Depending on the workshop and pottery tradition, firing can take place in a kiln or through a traditional firing setup. The pots need to be arranged carefully so that they receive suitable heat. This is particularly important because pottery is sensitive to sudden changes in temperature. Poor firing conditions can result in cracks, breakage, or weak pottery.
Step 7: Firing Turns Soft Clay into Pottery
Firing is the stage that gives the clay its finished structure. The dried pots are exposed to high temperatures for a controlled period. During firing, the clay undergoes physical and chemical changes that makes it harder and more durable. The exact firing temperature and method depends on the type of clay, the desired finish, and the intended use of the pottery. Cooking vessels require particular attention because they need to be suitable for their intended environment. Once firing is complete, the pots must cool gradually before they can be handled.
Step 8: Finishing, Checking, and Preparing for Use
After cooling, each piece is examined. The artisan checks the shape, surface, rim, base, and overall condition. Some pottery may receive additional finishing, while other pieces are left with the natural appearance of fired clay. This is one of the most appealing aspects of handmade mitti ke bartan. No two pieces may look perfectly identical. Small differences in color, texture, or shape can occur because of the clay, hand-shaping process, and firing conditions.
What to Look for When Buying Mitti Ke Bartan

If you are considering mitti ke bartan to buy online, pay attention to the product information rather than choosing only by its appearance. Check whether the piece is designed for cooking, serving, or decoration. If you plan to use it on a stovetop, confirm that it is suitable for that method. Look for clear information about dimensions, care instructions, material, and intended use.
For cooking vessels, construction is particularly important. Avoid products with significant cracks or structural damage, and follow the seller's instructions for first use and ongoing care. A beautiful pot becomes far more valuable when it is also appropriate for the way you intend to use it.
From a Potter's Hands to Your Kitchen
The story of how to make mitti ke bartan is ultimately a story of transformation. Clay begins as an ordinary natural material. Through preparation, skilled hands, gradual drying, and controlled firing, it becomes something functional enough for a modern kitchen and meaningful enough to represent a longstanding craft tradition. This is why traditional pottery continues to appeal to people who appreciate handmade products.
At Apni Mitti, this connection between traditional craft and modern-day homes remains at the heart of the pottery experience. Whether you are exploring mitti ke bartan for sale in Pakistan, comparing the mitti ke bartan price, or looking for pieces you can buy online, understanding their journey from clay to finished product can help you choose with greater confidence. The next time you hold a handmade clay pot, remember that its simplicity is the result of a surprisingly detailed craft. From earth to artisan, from fire to finished vessel, every stage gives mitti ke bartan their distinctive place in Pakistani homes.